


Skate On | Building a Backyard Ice Rink
Inspired by his boyhood love of pickup hockey on frozen ponds, a New Hampshire dad creates a backyard ice rink.
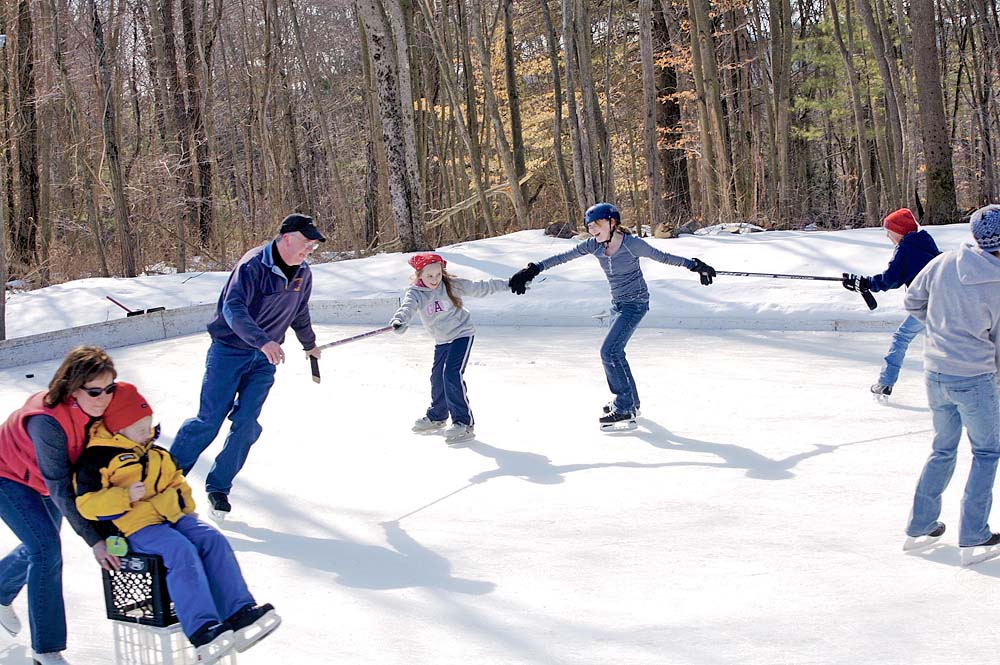
Jane Bannister gives son Peter a ride;
Paul pulls neighbor Alexa Ronan and Hannah Farley around the rink.

Photo Credit : Rob Bossi
BUILD A BACKYARD ICE RINK | PROJECT
My brother Paul grew up on Block Island, Rhode Island, where there were many ponds but little snow — so he and his friends skated whenever they wanted. That spontaneity was something he dreamed of for his children, Catherine and Peter, so Paul and his wife, Jane, built a 38×56-foot ice rink in their backyard in Kensington, New Hampshire.
BUILD A BACKYARD ICE RINK | PROCESS
Cover the ground with a tarp to protect the surface of the ice from rocks, roots, and sticks. For his first rink, Paul used a blue 40×60-foot construction tarp. Around it, he built walls from 2×6-inch framing lumber in 10-foot lengths. To reinforce the sidewalls, which would have to hold gallons of water, Paul used a simple construction technique: He made plywood gussets and attached them to 2×4-inch L-brackets, and then fastened these support units to the frame with sheetrock screws at about every 10 feet.
Over the past six years, Paul has refined his plan. He no longer uses a construction tarp; the blue color absorbed too much sun, so he’s turned to a white NiceRink liner, which wraps over the sidewalls. To guard it from tears by skates, hockey sticks, and pucks, Paul built an interior wall of plywood boards, which he painted white (to reflect sunlight). An effective barrier between skaters and liner, the boards are clamped to the frame with blocks. (Don’t use screws, as they’ll puncture the liner.)
Photo Credit : Rob Bossi
RESOURCES: NICERINK. Genoa City, WI.888-642-3746; nicerink.com
COST: $429 (lumber, $105; liner, $324)
SEE MORE: How to Build an Ice Rink | 8 Tips
