


Paper Bag Floor | DIY Instructions
Installing a brown paper bag floor is an attractive, inexpensive flooring solution for damp, drafty spaces. Here’s how!
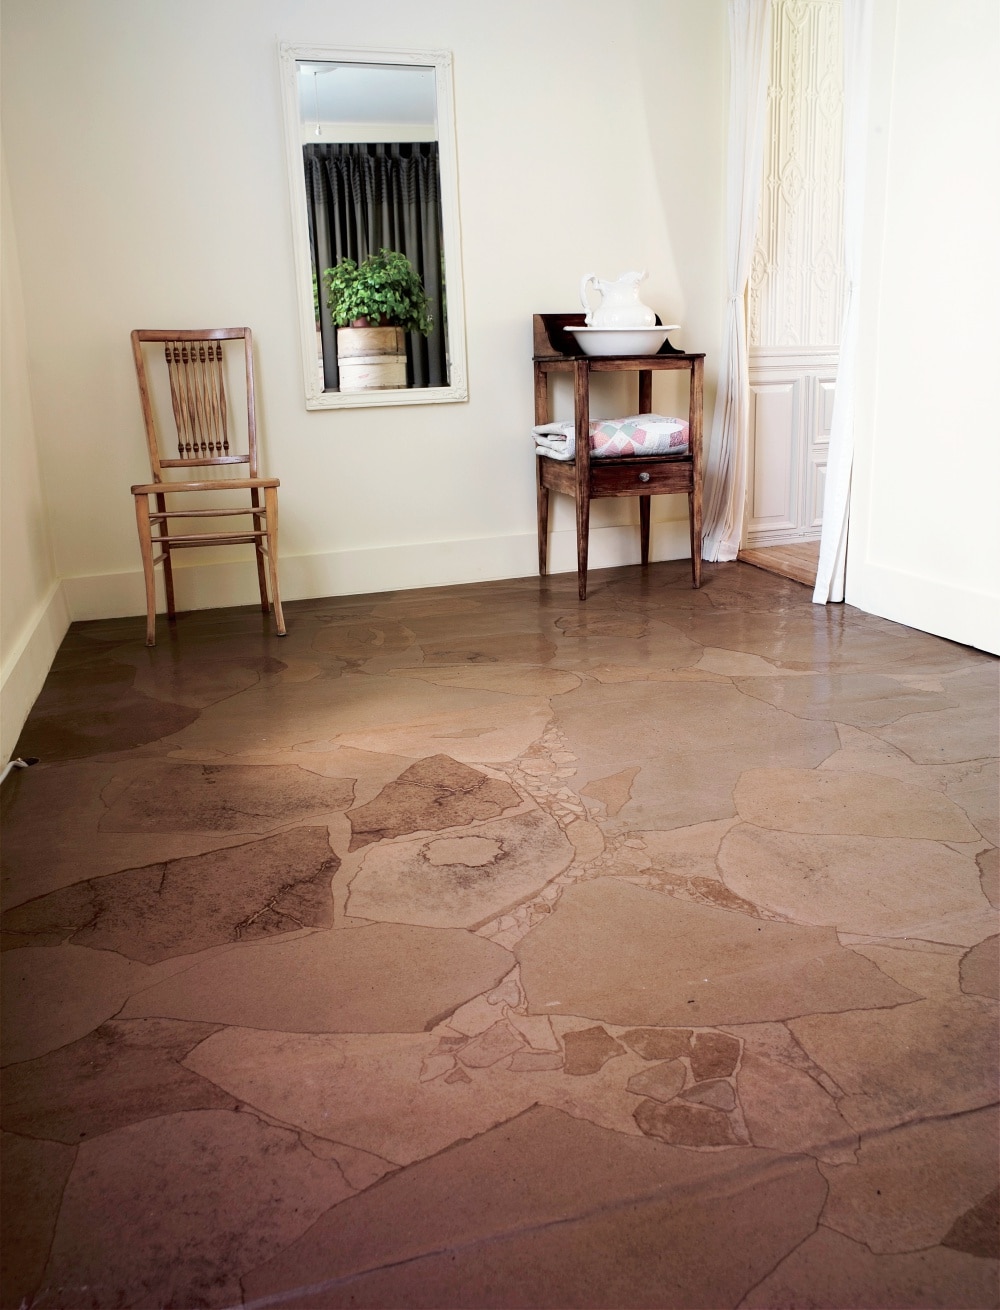
The paper bag floor is a unique and thrifty way to insulate a drafty floor.
Photo Credit : Andrew WellmanTo insulate a drafty floor, a Vermont couple combined thrift and imagination by installing a paper bag floor.

Photo Credit : Andrew Wellman
HOW TO DO A PAPER BAG FLOOR
When Gwynne Gardner and her husband, Michael Seitz, decided to turn a back room of their 1793 “honeymoon” Cape in Wilmington, Vermont, into a small guest area, they knew they had their work cut out for them. It was damp. It was drafty. And it had spiders. “The room gave me the creepy-crawlies,” says Gwynne.
Much of the problem lay with the pine-plank floor, whose cracks and gaps offered a perfect air channel from the stone-and-earth basement below. To address both the aesthetics problem and the lack of insulation, Gwynne turned to a technique she’d seen decades ago in a book: using torn pieces of paper bag as a floor finish. The result was a surface with a textured, rocky pattern. Even better: The room’s damp, drafty feel quickly vanished.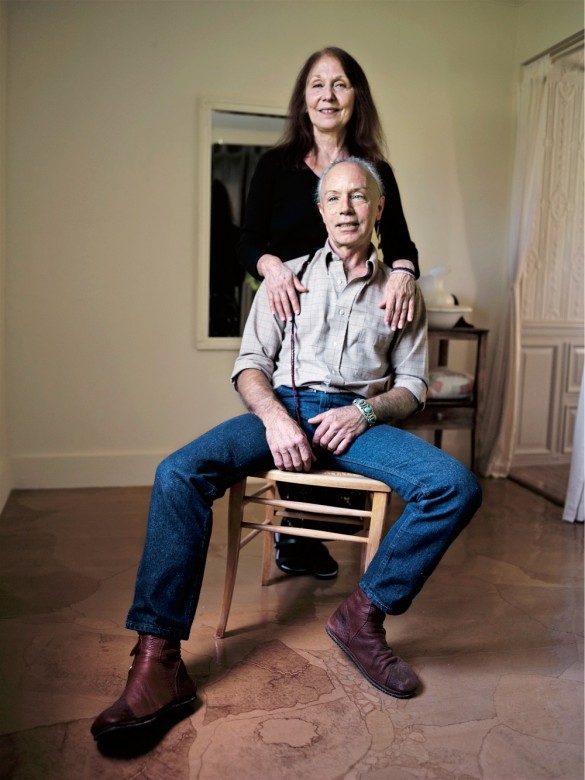
Photo Credit : Andrew Wellman
PAPER BAG FLOOR | INSTRUCTIONS
Gwynne and Michael cleaned the floor thoroughly with soap and hot water, then prepped it, sanding raised spots and packing the gaps between planks with wood filler. Another light sanding followed. Bypassing paper bags for heavier contractor’s paper (from a local hardware store), the couple then went at the main part of the work in two stages: bigger pieces first, followed by smaller additions.
Coating the underside of each piece with a 50-50 mix of water and Elmer’s white glue, Gwynne placed the larger “stones” strategically on the floorboards, being careful that each piece lay smooth without overlapping any other. Then for protection, Michael used a fine-bristled brush to give the floor a coat of Rust-Oleum’s Verathane Diamond Floor Finish, a type of polyurethane.
Gwynne “filled in the holes” with smaller paper pieces–a row of pebble stones here, creative fault lines there–before finishing the whole floor off with four more coats of Varathane. “The nice thing is you can take as long you want,” says Gwynne. “Even if you’re only partially done, you can still walk on it.”
What Do You Like Most About a Paper Bag Floor?
There’s the look and easy care (just mopping), but also the feel. “Walking on it in bare feet,” Gwynne says. “It’s very soft.”
Paper Bag Floor Cost? About $100, including brushes, contractor’s paper, glue, and polyurethane This project originally appeared in the January/February 2009 issue of Yankee.